I started down the rabbit hole of AI a few years back when the idea of AI was coming to the forefront of computing rather than being relegated to a niche corner. I remember building my first AI models base on the MNIST dataset, which is often used as a benchmark for testing various classification systems. It was something to play with at the time, and I got at least a decent understanding of what went into making AI models, but at the same time not claiming to be an expert in how they work. Since that time, I have dabbled in AI topics from time to time as I’ve had the chance to learn. Recently though, I stumbled upon a golden opportunity to go even deeper with Project Santa Cruz, also known as Azure Precept. What made this more exciting though is that it married AI with IoT, another area of interest I have.
So, what is Project Santa Cruz? Project Santa Cruz started at Microsoft to bring AI to the edge. In terms of cloud computing, the so-called “edge” is more or less the extension of cloud computing into areas that are beyond the boundaries of cloud data centers, like Azure. Devices that run in this context connect to the cloud and operate as an extension of a cloud-based service, like Azure IoT. Project Santa Cruz built on the idea of edge computing by building a device with Azure’s own IoT Edge on the embedded OS, which connected the device to microphones and a camera, and an AI processor. This package gives developers the ability to have code running on the “edge” device while having access to the device’s sensor and with hardware-assisted execution of AI models.
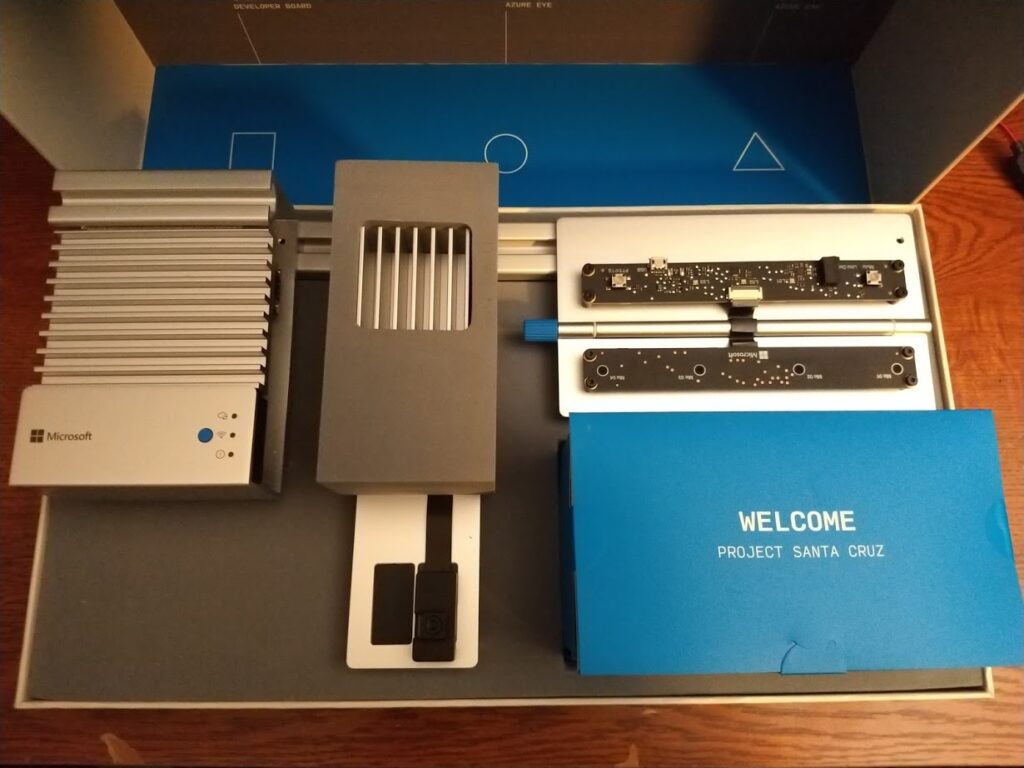
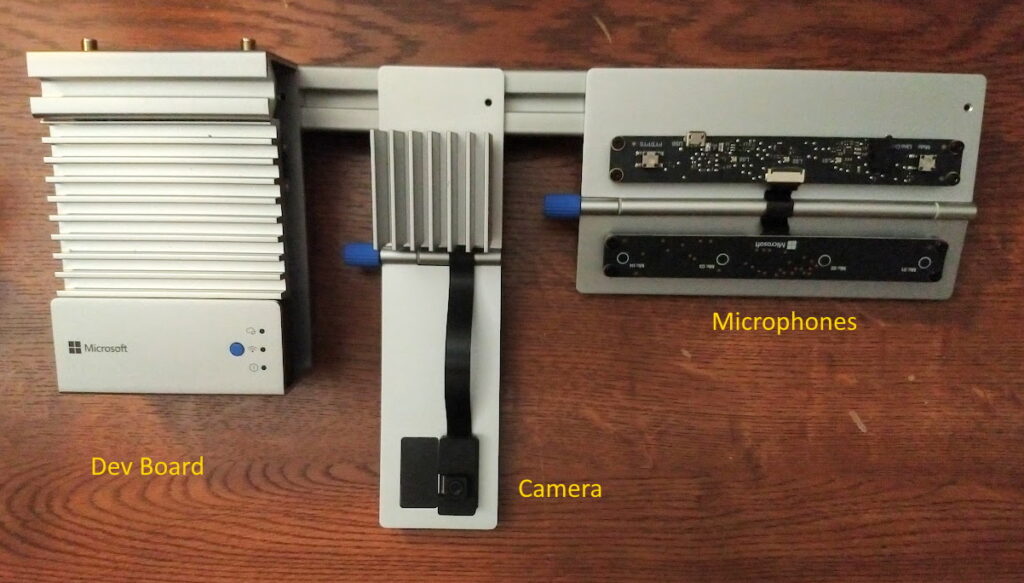
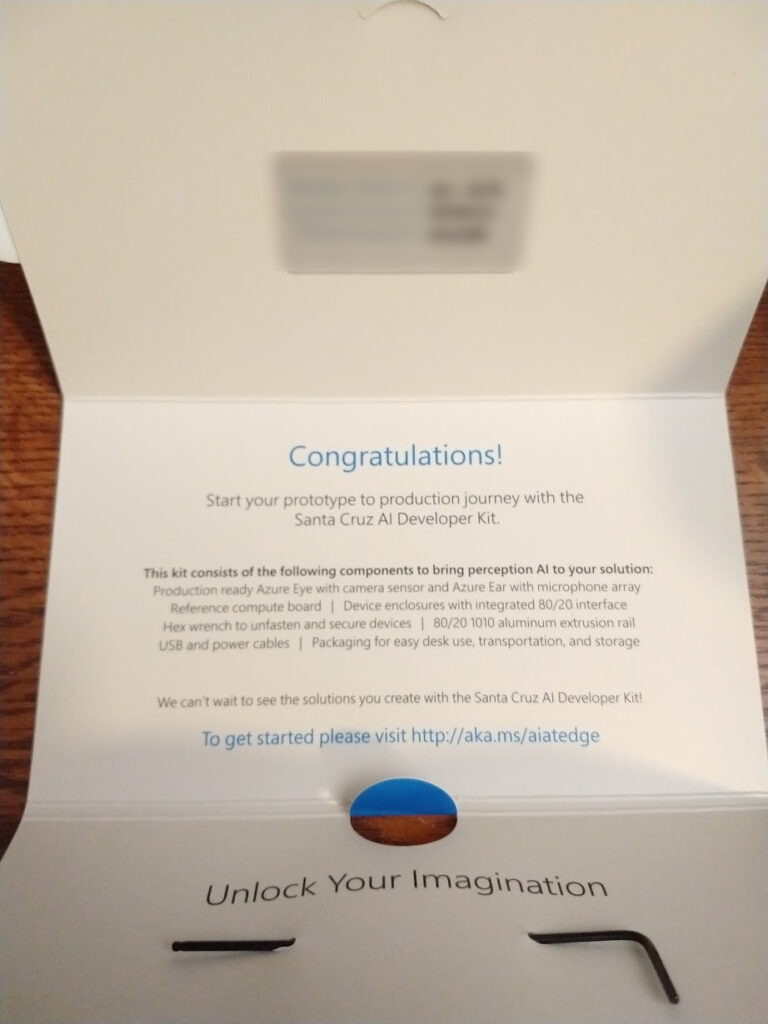
I got my devkit a few days ago as part of the preview for Project Santa Cruz. Knowing I was going to receive it, I signed up for the program and went through the unboxing processes. Microsoft shipped the device in a sturdy cardboard box with lots of padding to protect the device from damage. After opening the shipping box, inside I found another box without a clear label, but I knew what was in it. The package though was amazing and well done for something as simple as a devkit. After opening the inner box, I found the device well packed for shipping in quality materials. It came with the main unit, the camera, and the microphone array attached to a sturdy aluminum rod with a box of cables and a welcome card. The hardware appears to be well built and mounted on solid aluminum pieces. I have no complaints here. All in all, it’s a very professional presentation.
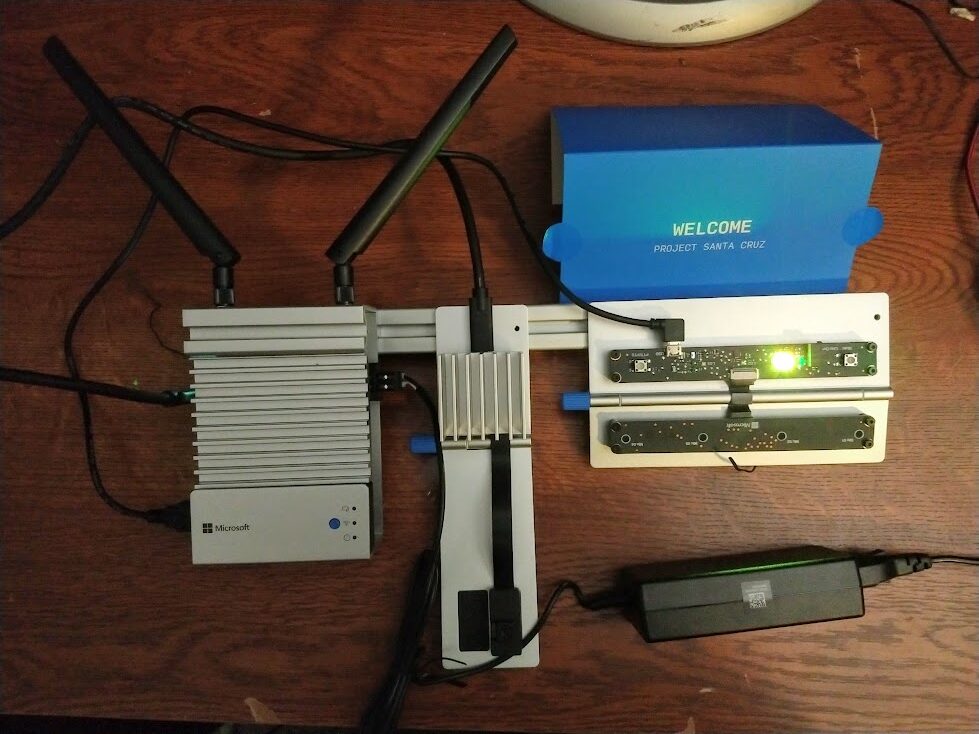
I have one complaint though: I wish I would have found some in-box documentation. It wasn’t exactly intuitive on how to connect the cables from the compute unit to the camera and the microphone array. Had I not read about the Out-of-Box-Experience on the project’s GitHub repo, I doubt I would have known what to do with what I was looking at. The online documentation wasn’t very descriptive. In any case though, after some inspection, I found the place to plug in the power, the ports for the camera using a USB-C to USB-C cable, then the ports for the microphone array using a USB Type-A to a Micro-USB port on the microphone array. Once the cables were plugged in, I plugged in the power brick to AC, and the device started right up without any issues.
The next part, setting up the device, could have been much easier with even minimal documentation in the box, although there was online documentation about the process, so I returned to the GitHub repo for instructions on how to connect to the device and configure it. In any case, the process basically involves connecting to the device via a built WiFi access point from a computer, connecting to the device through a web browser on a non-standard port, walking through a wizard to connect the device to my WiFi network, then connecting the device to Azure. Everything in the wizard went smoothly until the last step when I went to register a device on Azure IoT Hub. After clicking the “Next” button, the wizard did nothing after spinning for a moment, then it returned the page for registering the device again on Azure IoT Hub without any feedback. I went to Azure IoT Hub and found the devices listed under the instance of Azure IoT Hub I created through the wizard, so I knew the process worked, but I don’t feel like I ever actually “completed” the wizard because of this apparent snag.
So, in spite of the few complaints and one snag I hit in the process, I’m excited to see where this project goes. I want to get started deploying some models to the device to see how it works, then I hope to build my own models. My project for this to demonstrate the technology is one I have been sitting on for a while. I want to build an AI model that I can use to recognize birds. My idea is to point the camera at my bird feeder and capture images on a predefined interval, then use an AI model to identify the species of birds at the feeder. This should show lots of cool scientific data about the feeding habits of birds as well as the actual species that come to my feeder based on what kind of seed I put in it and things like that. I am looking forward to working on this project over the next few weeks using the Santa Cruz devkit, so stay tuned for more parts in this multipart series!